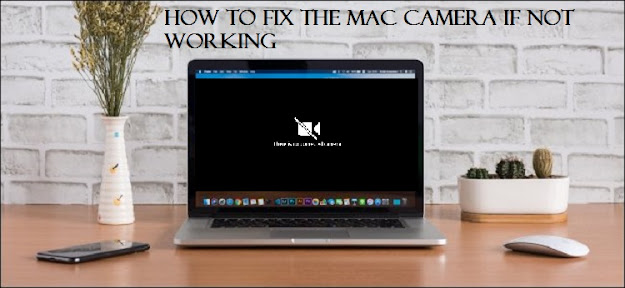
A webcam is a video camera used to exchange real-time images or
videos through computer networks. Generally, these webcams are placed near the
desk or come as an in-built device in laptops or Mac.
Apart from an inbuilt webcam that comes handy with a Mac, an
external webcam device can also be attached to it. Sometimes, the Mac camera
can come up with issues. Suppose you have an urgent office conference and the
camera stops working. To save you from such annoying situations, below
mentioned are the potential fixes you can try to get your Mac camera going.
Check for Any Issues Near
the Lens
It is always necessary to check the basic issues first and then
move on to other things instead of directly trying to play with the device. A
lot of people cover the camera lens to save it from any harm or other reasons.
Make sure the lens is not covered and if it is, removes the cover.
Make Sure the Permissions
Are Enabled
Many applications seek for permission the first time you access
the camera with the same. It is not unusual to deny access when it sends out a
notification for permission the first time. Also, it saves the command for
later and does not ask you again. Thus, if you want to enable the access of
camera by the app, follow the steps mentioned below:
§ Go to
the ‘System preferences’ window.
§ Click
on the ‘Security and Privacy’ tab.
§ A list
of applications will appear in the next window. Hit the ‘Camera’ option.
§ Mark
the checkbox for the same, if it’s not marked to enable the access of the
camera by the app.
§ Once
you’ve made the changes, tap on the lock icon on the bottom of the screen to
save the changes.
You can make changes to the application’s access or permissions
any time you want.
Wipe out the VDCAssistant
and AppleCameraAssistant Processes
The two processes VDCAssistant and AppleCameraAssistant run in
the background of your Mac. It is likely for these processes to crash anytime
on your system. Most often, the crashing of a process is followed by restarting
the system. In case, this doesn’t happen, you can stop or wipe out the two
processes manually. The steps to do the same are:
§ Open
‘Terminal’ either from the Spotlight or in the ‘Utilities’ section under the
‘Applications’ tab.
§ Type
the given command in the space provided
‘sudo killall VDCAssistant; sudo killall AppleCameraAssistant’
§ Enter
your admin password for authentication, and give your webcam a try.
Note: If you don’t want to run the command mentioned above, you
can restart your Mac and then try using your webcam.
Uninstall and Reinstall
the Application
The first and foremost step to follow before uninstalling the
app is to try using the webcam with some other app. If the camera works fine
with other applications, the problem might lie in the app that you want to use.
All you need to do is delete the application and then reinstall it to update
the same to its latest version. Keep in mind that once you reinstall the app,
you’ll have to set its permissions to access the camera.
Check for Screen Time
Permissions
Screen Time is a feature that keeps track of your device usage.
Screen Time is specially used to set screen limits for your children that may
restrict access to the webcam. The steps to check and enable the camera are:
§ Go to
the ‘System Preferences’ window.
§ Click
on the ‘Screen Time’ option.
§ Select
the ‘Content and Privacy’ option from the left toolbar.
§ Tap the
checkbox for the camera to enable the access if it’s not marked.
Fix the External Webcam
Mac comes with internal webcams, but a lot of models like Mac
Mini require an external webcam. The primary step is to check the connectivity
if you’re using a USB to connect a camera. Make sure that the webcam is
properly plugged in. Else, unplug the webcam once and then plug it back. If the
camera still doesn’t work, try using another USB cable.
If the issue remains unclear, try checking for the same on your
Mac. Tap on the Apple logo on the top of your Mac window and open the ‘About’
tab. Next, select the ‘System Report’ from the pop-up window and locate the
‘USB’ section on the sidebar. Open the tabs under the USB section and check for
your webcam issues.
In case you want to check if the external camera has a problem,
try connecting it to some other system and check.
All the potential fixes mentioned above are likely to work for
you if there is no major issue with your Mac or the webcam. Thus, if all these
methods still don’t work, you may contact a service provider to check the same.
SOURCE:- How to Fix the Mac Camera if Not Working

Comments
Post a Comment