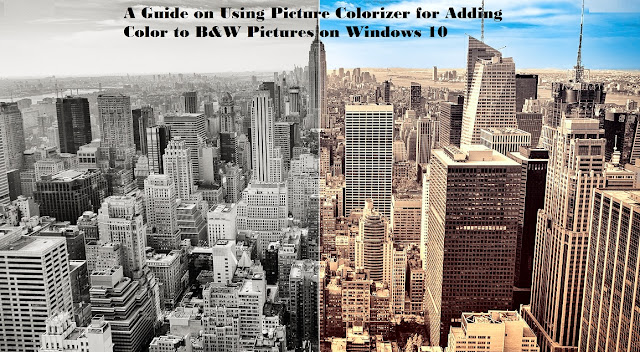
There are a lot of third-party applications that let you save pictures in black and white. Else, you might have a lot of pictures of your grandparents on your PC clicked years ago when colored pictures were still not a trend.
Have you ever thought of adding colors to these pictures and give them a change before gifting it to your old pals? Undoubtedly, a gift as precious as an old picture will make anyone happy. The solution to adding colors to a black & white picture is finally here with a decent tool named Picture Colorizer.
The software is free to use; however, it can fall short on your expectations sometimes. According to a few users, the software failed to fill a color properly to a B&W picture. Now, it’s hard to figure out if the issue was with the picture or the software.
Notably, downloading your picture locally isn’t possible with the software. Therefore, the image is uploaded to a server using a tool, which lets you download the same using artificial intelligence.
How to Use Picture Colorizer to Add Color in a B&W Picture?
Using Picture Colorizer is not as difficult as you might think. Read the details mentioned below to get familiar with the process of using the software.
Adding and Uploading the Image
Before heading towards other editing options, the first step is to select and open an image in the editing area. All you need to do is open the Picture Colorizer and tap on the ‘Add Images’ button on the screen’s top-left corner. You’ll be headed to a library where you can locate a B&W image that you want to use and open the same by selecting the ‘Colourize’ option.
The picture can take a few seconds or minutes to load the image depending upon its size and your internet connection. It is essential to have a decent connection to keep the software from crashing over and over.
The Final Product
Once the image has completed its process, it’ll appear on the screen in colored form. Hold on; the process isn’t over yet! An editing window will be present on the right side of the image, presenting a few options. If you’re someone who isn’t familiar with editing at all, you might not want to get yourself involved. However, if you’re going to perform basic editing, you can change the settings or select a different filter.
Once you’re satisfied with the final settings, hit the ‘Save’ button, and your image will be saved in the hard drive.
Changing the ‘Save’ Format
When you save the picture once the editing process is completed, the image is saved in the PNG format, by default. However, if you want to convert the same to JPG, it can be done quickly. All you need to do is tap on the ‘Options’ button and select ‘JPG’ from the pop-up menu. Click on the ‘Confirm’ button to save the image.
That was easy, wasn’t it? Using the Picture Colorizer software is no rocket science. Instead, if you don’t want to edit, it also presents you with a ready-made colored picture. What are you thinking? Convert your black and white images and let everyone wonder about the trick.
SOURCE:- A Guide on Using Picture Colorizer for Adding Color to B&W Pictures on Windows 10

Comments
Post a Comment