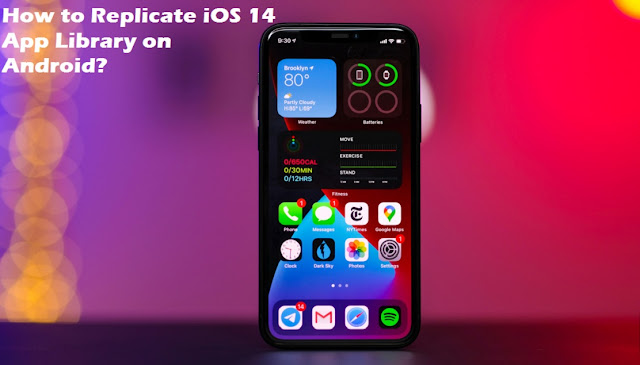
Apple has recently launched the “App Library,” a place where all your apps are automatically organized. It may appear like the app drawer in terms of performance, but the main difference between an app drawer or App Library is the concept of app management. “App Library” lets the users find their desired app with ease.
If we talk about Android gadgets, then they come with the app drawer where a user can locate all the apps stored on the device. If you wish to get App Library on your Android phone, then you are not out of luck as there are various procedures to imitate App Library directly on Android gadgets.
Search for the App Drawer’s Supplement
The “App Library” is like an App Drawer provided by Apple. You have to choose a compatible supplement for this app organizing feature on your device. You may use any compatible app such as “Smart Drawer” that helps you to organize all your apps by categories. Smart Drawer is an app used to manage and organize apps into several categories.
Pursue these instructions to get the Smart Drawer on your device:
- First of all, you need to download “Smart Drawer” directly from the Google Play Store on an Android device.
- Once the app downloads successfully, launch it, and you will see some welcome slides on your screen. Hit the Continue tab until you find the option “Enable Online Sorting.” These set-ups will help all your device’s apps to organize into categories automatically. Therefore, it is recommended to activate it and then press the Continue button.
- Now, the following screen will show you how to replace your app drawer with a high tech Smart Drawer. Hit the “Start” button there.
- Next, you will be brought to the Smart Drawer automatically having several app sections towards the left-hand side section of your screen. Hit the Category icons to view your apps. It might take a couple of times to organize all your existing apps.
- After that, press the Search icon situated at the uppermost right-hand side edge to get the specific app.
- Then, you need to long-tap on any app to launch more features and options. Here, you can easily drag it to another category.
- In case you wish to add a particular category, then press the hamburger icon situated at the uppermost right-hand side edge and then presses the option “Add Category” there. The free edition of Smart Drawer enables the user to add up to six categories.
- If you desire to remove a category, then apply a long tap on the particular category icon and then choose the Remove tab.
- You may easily drag the app icon anywhere on your device’s home screen.
Try New Launcher
The Launcher is the program that you see as your home screen. On an Android device, you may easily change the launcher when needed. You have to download a compatible app launcher on your device as per the specs and requirement. In case you have selected “Smart Launcher 5” to for your android gadget, then follow these straightforward instructions:
- At the start, download “Smart Launcher 5” by navigating the Google Play Store on your device.
- Then, open the launcher and the hit “Get Started” tab.
- Now, agree to the user agreement page and proceed.
- After that, a permissions list will appear on your screen. You don’t need to allow all the app permissions for using the launcher. Only, you need the permission “Storage,” others are for optional features and widgets. Then hit the Next button once finished.
- Now, a permissions window will pop-out, tap the Allow button there.
- Next, you will need to select wallpaper for your device, select your desired one and then press the Next button.
- Then, the app will ask whether you wish to unlock all premium subscriptions and features. However, it is not mandatory to select; you may choose the relevant option otherwise tap the cross-signed icon to shut the window.
- Now, you will find a new home screen for the launcher. You can experience “App Library” like category features that can be easily accessed by swiping the home screen.
- After that, you need to download the backup file there. Then long press and hold the download tab on the home screen to launch the Settings panel. Then, choose the option “Show All Settings.”
- Then, hit the Backup from Settings option.
- Choose and tap the icon “Folder” located at the lowermost left-hand side edge of your screen.
- Hit the file that you have already downloaded before. Then, you have to tap the option “OK” related to the pop-up message describing that restoring data from this backup will delete the existing configuration.
- Then, press the continue button. You will be prompted to the home screen there. Now, you need to swipe over to the uppermost right-hand side of the home screen to view the faux App Library. Now, the launcher automatically organizes all your existing apps into several categories provided at the bottom portion of the screen.
- In case you desire to add a new category, then press the menu tab and then choose the “Add Category” option. You may easily select from one of the available preset sections, and after a while, the apps will be automatically sorted.
- Finally, reboot the device and experience App Library like features.
Many Android users want to get rid of the traditional app drawer and transform it into a unique form of App Library. If you also wish to get an App Library on your Android device, then the aforementioned steps will help you.

Comments
Post a Comment